Discover the joys of vermicomposting
what is the vermicomposting?
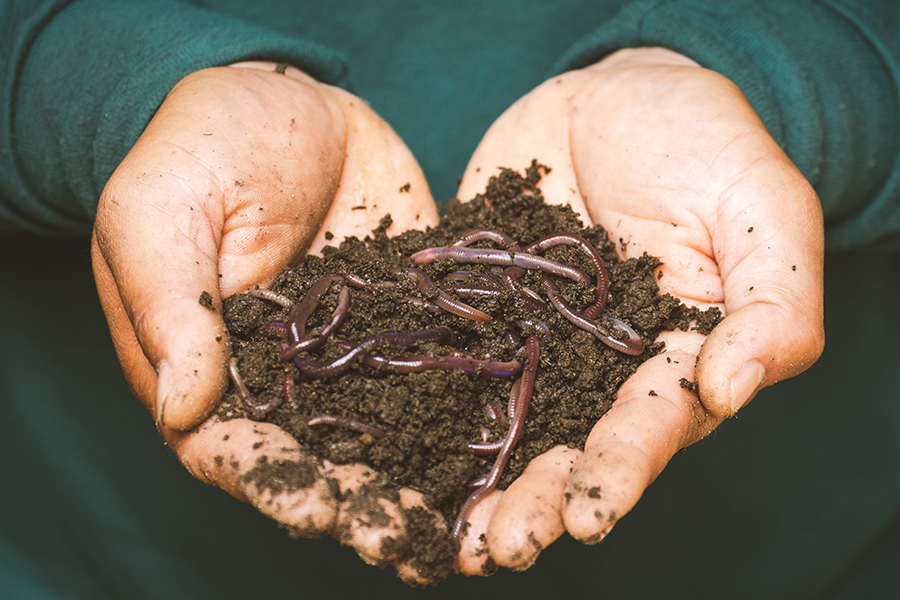
Vermicomposting or worm composting is using red wiggler worms to decompose
organic household wastes into a useful soil conditioner.
Why compost with worms?
- For people without yards, such as apartment and condo dwellers, school classrooms and offices, vermicomposting provides the opportunity to compost year round.
- Connect with nature on a daily basis.
- Worm poop (castings) makes great compost, rich in nutrients for use as a soil
- conditioner
What You Need
- A worm bin
- Red wiggler worms You can start with as little as a 250 ml container
- Bedding (shredded newspapzer and/or potting soil not enriched with fertilizer)
- Food waste (uncooked fruit and vegetable waste only
- Water (to moisten the bedding)
- Bag or container in freezer to store food scraps
- Trowel or spoon to bury food scraps and mark the spot

Worm Bin
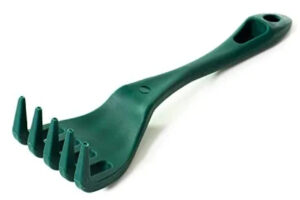
Compost Turning Fork
The Worms
Redworms , Eiseniafetida, are used for composting because they process organic
material quickly. They are also called red wigglers, brandlings and manure worms.
Earthworms or night crawlers do not process food as quickly as red wigglers; nor
does the worm bin provide suitable habitat. Red wigglers work best near the surface of the soil unlikeother worms that live deeper in the soil.
Redworms can be obtained from a friend’s compost bin or purchased from a distributor.
You can start with a small quantity 250 ml container) and gradually build up the
amount of food waste You add as the worm population naturally increases.For half kilogram of kitchen scraps per day you will need about one kilogram of worms
The Bedding
suitable bedding materials include shredded newspaper and/or potting soil that is free of
added fertilizer. Glossy paper is not recommended. potting soil provides necessary grit for
the worms to digest food. Bedding material from outdoor wil introduce outdoor
organisms, some of which may negatively affect the worms.
Fill the bin three-quarters full with bedding material. Add water until the bedding is
as moist as a wrung-out sponge Lift the bedding material gently t loosen it and
create air spaces. This provides oxygen for the worms, helps control odour and helps
the worms to move easily
Suitable Worm Food
kitchen scraps such as fruit peels and cores, vegetable trimmings, tea bags and coffee
grounds can all be composted in the bin. worms will digest the material more quickly
if the scraps are cut into smaller pieces. The food should be buried under the surface
of the bedding material to avoid problems with flies and odor. Another way to avoid
fruit flies is to freeze the food first.
Goodour-free Do not add meat ois and dairy because they create odours.
Go disease-free Do not add waste and bedding from small pets because the ammonia in urine is toxic to worms and waste could carry pathogens.
Keep citrus fruit peelings to a minimum to avoid a build up of D-limonene, a chemical
given off naturally by citrus foods as the peels are broken down. Remove peels from
the bin if yu detect mould or a gaseous odour.
one-fifth Rule citrus fruit peeling and coffee grounds(with filier s should amount to no more than one-fifth of worm food).
Adding Food
usually you can feed the worms once a week. start with a 500 ml container of food.
create a hole in the bedding, put in the food and cover with bedding. Mark the food
site with a trowel or spoon. check their progress to see how quickly they are eating
the food. over time as the worm population increases, You can give them more food
more often. Move the marker with each feeding
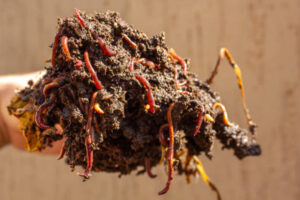
Harvesting your compost
It’s time to harvest when the bedding material becomes dense, dark and full of
castings. The finished compost should be removed every three to four months, or
as necessary. There are three methods for harvesting the compost.
1 . Migration Method Move all the material over to one side of the bin. place new
bedding and new food waste on the other side for the next four t six weeks. The
worms will gradually migrate over and the finished compost can be removed.
- Leave the Lid offMethod Leave the lid open t let light drive the worms deeper
into the compost. once or twice a day, Scoop off the top worm-free layer for use.
Repeat. - cone Method Dump the entire contents of the bin onto a large plastic sheet and
shape six to nine cone-shaped piles. place a bright light over the cone piles and let
them sit for about 10 minutes. The light drives the worms deeper. Remove the top
layer of the compost piles until you see the worms. Repeat.
Using your compost
vermicompost is actually nutrient-rich castings from the worms . castings can be
used for top-dressing container plants and for mixing in with potting soil. use a
ratio one-part compost to three parts potting soil · To use it as a top dressing just
sprinkle 6 mm on house plants every couple of months. You can also sprinkle the
compost with garden seeds or in new planting holes prepared for flwers or vegetables.
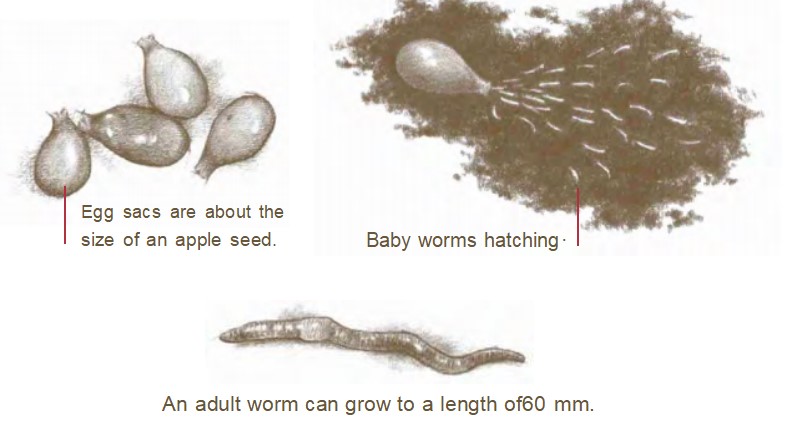
Multiply and Divide
The worms will multiply! After four to five months, You may find tiny, grey egg
sacs in your bin, followed by tiny worms. The thread-like worms are clear to white
upon hatching but will soon grow to adult red wigglers, which will also multiply · At some point, you need to remove a couple of handfuls of worms and give them to a friend to start a new bin.
You know you have too many worms when more than one-fifth of your bin is worms.worms are living creatures with unique needs. Maintain a healthy environment for your worms So that they will thrive and do their work.
Problems & Solutions for Reference
| Symptom | Problem | Solution |
| Strong,bad smell | Not enough air circulation | Fluff bedding. Make sure bedding or compost is not blocking air holes in the lid |
| Too much food in the bin | Feed wor m less food and /or less often. | |
| Improper food added | Remove meat, dairy and oily products. Orange peels can emit a strong odour as they break down | |
| Food exposed | Bury food completely | |
| Anaerobic(no oxygen) condition | Add bedding to absorb moisture , allowing air to fill in the spaces instead of water | |
| Fruit flies and / or springtails | Food exposed | Cover food completely. Freeze food prior to placing in the bin to kill insect eggs |
| Pile is wet or water is pooled on bottom | Too much water added to bedding, or food was too juicy,or water in frozen food was not accounted for | Add dry materials, such as shredded newspaper to absorb excess moisture. Leave lid slightly ajar to allow for evaporation. |
| Mouldy food | Too much food or food not palitable | Remove mouldy food |